photoshop设计时尚泡泡壁纸教程
2022-12-26 06:06:02
来源/作者: /
己有:66人学习过
作者xyzk 出处:Iconfans
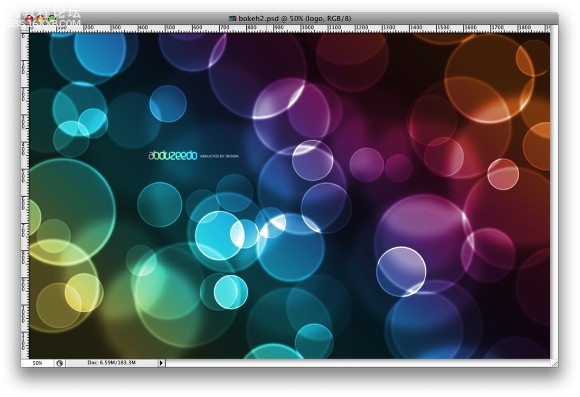
先看看最终效果
以下是详细的photoshop教程步骤:
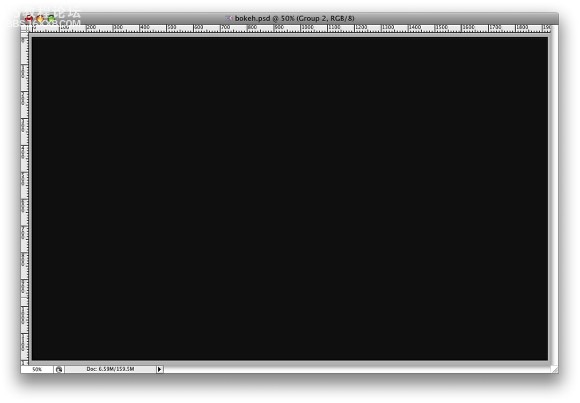
Step 1
Createa new document in photoshop. As usual I will use a nice screeresolution, 1920x1200 pixels. Fill the background layer with a verydark grey, not black. If you fill it with black the effect won't work.The color I used was #262626.
第1步
在photoshop中创建新文档,大小是1920x1200,背景层填充一个较深色的灰,注意要是深灰色,不能纯黑,否则无法出效果。比如可以填个#262626。
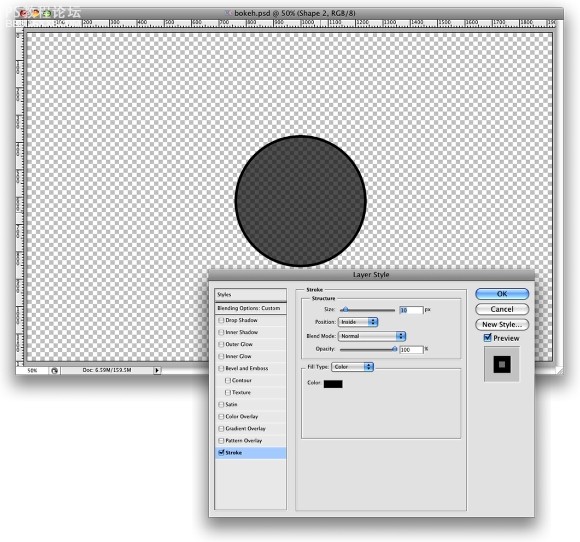
Step 2
Selectthe Ellipse Tool (U), and create a circle. Use black for the color, andgo to Layer Layer Style Blending Options. Change the Fill Opacityto 50%. After that select Stroke. Use 10 pixels for the size, Insidefor the Position and Black for the color.
第2步
选形状工具(U)里面的椭圆,在新图层中用黑色画一个正面,在图层填充不透明度为50%。设置图层描边效果,大小10像素,位置内部,颜色黑色。
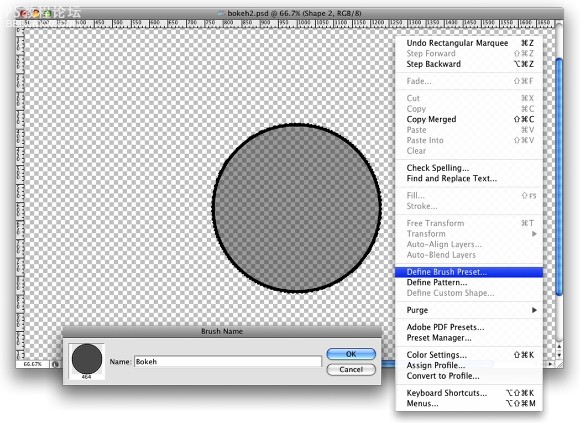
Step 3
Select the ellipse and go to Edit Define Brush. Name your brush and that's done. Now we have a new brush ;)
第3步
隐藏背景层,椭圆层处选中状态,选择“编辑”菜单-“定义画笔预置”,取个名,按确定,这样就定义好了一个新的笔头。
Step 4
Go to Window Brushes (F5). The first thing to do inthe Brush Engine is to select our new Brush. The size won't matterbecause you will change that when you use it. The Spacing, however, isvery important. Chage the value to 100%. After that, select the ShapeDynamics, then Scattering and Other dynamics. For the values use theimage below.
第4步
选择画笔工具,F5打开画笔面板,笔头设置成刚才定义的新笔头,大小随意因为我们可以随时更改。“画笔笔尖形状”里面的“间距”设置100%。“形状动态”“散布”和“其它动态”的参数按照下图设置。

, Step 5
Beforewe start painting our bokehs let's create a new layer and fill it witha colorful gradient. I created a new layer and used the layer styles todo that but feel free to do the way you are used to. My gradientsettings are as follows: Blend Mode is Overlay, Opacity is 100%, Styleis Linear, and the Angle is 45º. The colors I used are: Yellow(#00085), Cyan (#1bdaeb), Purple (#9b3b81), Orange (#d27e34).
第5步
隐藏椭圆图层,打开背景层。在进行喷绘这前,我们来创建一个新图层,随便填个色彩。接着使用图层效果的渐变叠加,渐变的设置如下:渐变混合模式是叠加,不透明度100%,样式是线性,角度45,使用的颜色:黄(#00085),青(#1bdaeb),紫(#9b3b81), 橙(#d27e34)。
先看看最终效果
以下是详细的photoshop教程步骤:
Step 1
Createa new document in photoshop. As usual I will use a nice screeresolution, 1920x1200 pixels. Fill the background layer with a verydark grey, not black. If you fill it with black the effect won't work.The color I used was #262626.
第1步
在photoshop中创建新文档,大小是1920x1200,背景层填充一个较深色的灰,注意要是深灰色,不能纯黑,否则无法出效果。比如可以填个#262626。
Step 2
Selectthe Ellipse Tool (U), and create a circle. Use black for the color, andgo to Layer Layer Style Blending Options. Change the Fill Opacityto 50%. After that select Stroke. Use 10 pixels for the size, Insidefor the Position and Black for the color.
第2步
选形状工具(U)里面的椭圆,在新图层中用黑色画一个正面,在图层填充不透明度为50%。设置图层描边效果,大小10像素,位置内部,颜色黑色。
Step 3
Select the ellipse and go to Edit Define Brush. Name your brush and that's done. Now we have a new brush ;)
第3步
隐藏背景层,椭圆层处选中状态,选择“编辑”菜单-“定义画笔预置”,取个名,按确定,这样就定义好了一个新的笔头。
Step 4
Go to Window Brushes (F5). The first thing to do inthe Brush Engine is to select our new Brush. The size won't matterbecause you will change that when you use it. The Spacing, however, isvery important. Chage the value to 100%. After that, select the ShapeDynamics, then Scattering and Other dynamics. For the values use theimage below.
第4步
选择画笔工具,F5打开画笔面板,笔头设置成刚才定义的新笔头,大小随意因为我们可以随时更改。“画笔笔尖形状”里面的“间距”设置100%。“形状动态”“散布”和“其它动态”的参数按照下图设置。
, Step 5
Beforewe start painting our bokehs let's create a new layer and fill it witha colorful gradient. I created a new layer and used the layer styles todo that but feel free to do the way you are used to. My gradientsettings are as follows: Blend Mode is Overlay, Opacity is 100%, Styleis Linear, and the Angle is 45º. The colors I used are: Yellow(#00085), Cyan (#1bdaeb), Purple (#9b3b81), Orange (#d27e34).
第5步
隐藏椭圆图层,打开背景层。在进行喷绘这前,我们来创建一个新图层,随便填个色彩。接着使用图层效果的渐变叠加,渐变的设置如下:渐变混合模式是叠加,不透明度100%,样式是线性,角度45,使用的颜色:黄(#00085),青(#1bdaeb),紫(#9b3b81), 橙(#d27e34)。
相关推荐

ps制作发光光线吉他壁纸教程

壁纸教程,ps设计暗黑3游戏壁纸

壁纸教程,设计圆形光晕壁纸教程

壁纸教程,制作简洁的卡通风格壁纸教

图片变清晰,使用PS让模糊图片变清晰的方法教程

PS调出晶莹洁白肤色商业人像照片效果

PS调出唯美金黄色树叶背景甜美女生照片

调出高清质感暗色草原风景图片的PS教程


